How to Make a Life Calendar: Printable, Spreadsheet or Phone
Three honest ways to build one, what each costs in effort, and the one question that decides which is right for you.
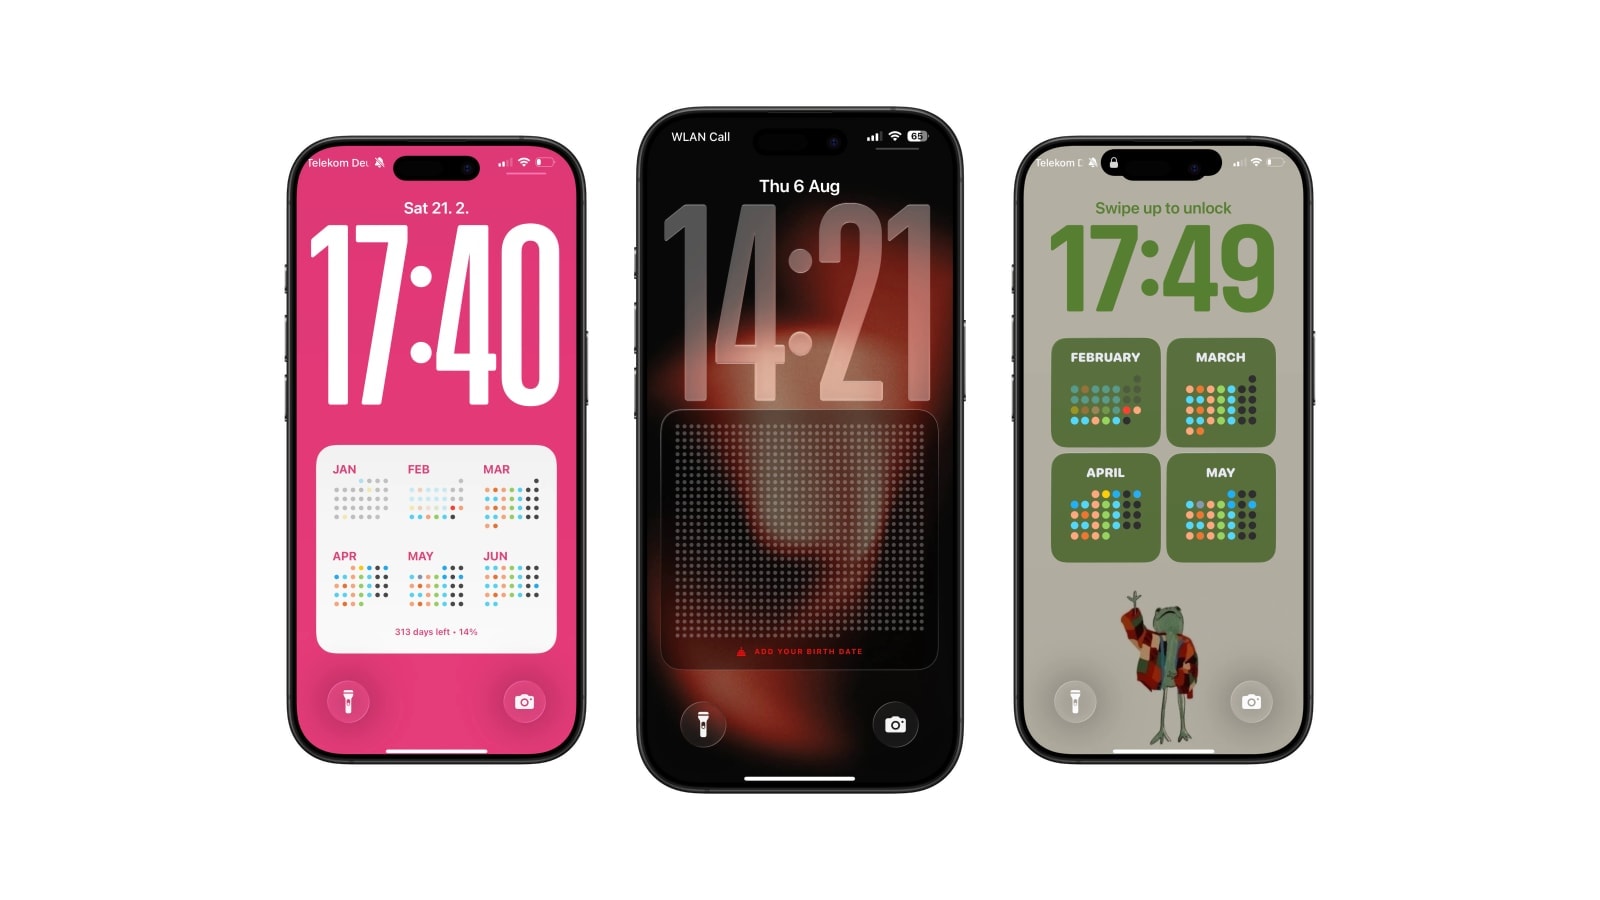
There are three ways to make one, and they suit genuinely different purposes: paper if you want to write on it, a spreadsheet if you want to work out the numbers yourself, and a phone wallpaper if you want the current week visible without doing anything.
Whichever you choose, two decisions come first. Pick the unit, which is usually weeks but can be months or years, and pick the horizon, which is usually 80 or 90 years and is a drawing boundary rather than a prediction.
After that the method matters far less than picking a version you can look at without feeling judged by it.
1. A printed grid
Paper is still the best version if the point is to write in it. Colouring a block for the year you moved cities, or marking the week a child was born, is the thing the digital versions are worst at and the thing that makes a life calendar personal rather than decorative.
Go bigger than feels sensible. A 90-by-52 grid on A4 gives each week about two millimetres, which is fine for filling in and useless for annotating, so if you intend to write on it, print at A2 or larger.
- 1Choose 80 or 90 rows
One row per year, 52 columns per row. That is the standard layout and the one most templates use.
- 2Label the last row honestly
Write it as a chosen horizon. Anything that reads like a predicted date is both wrong and unpleasant to look at.
- 3Fill the past
Either shade every elapsed week, or colour only the weeks you want to record. The second version is more interesting after a few years.
- 4Leave room to write
Margins and a legend. A grid with no space for a note becomes a poster rather than a document.
2. A spreadsheet
This is the fastest way to satisfy yourself that the numbers are right, and it takes about ten minutes. Put your birth date in a cell, then compute completed weeks with a formula along the lines of INT((TODAY() - B1) / 7). Make a grid of 52 columns and as many year rows as your horizon, number the cells sequentially, and use conditional formatting to fill every cell whose number is less than or equal to the completed weeks.
The result is exact, updates whenever you open the file, and is invisible the rest of the time, which is its one real weakness. Keep it as the source if you enjoy tinkering, and print or export it when you want something you will actually see.
3. On the iPhone
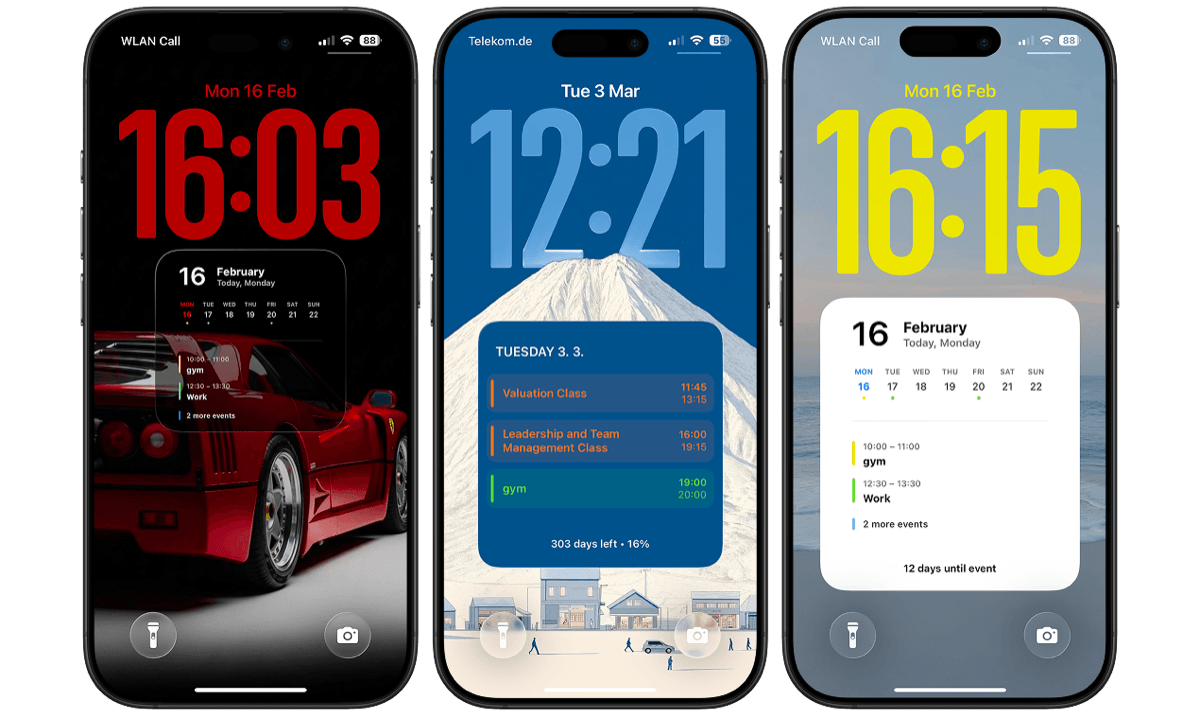
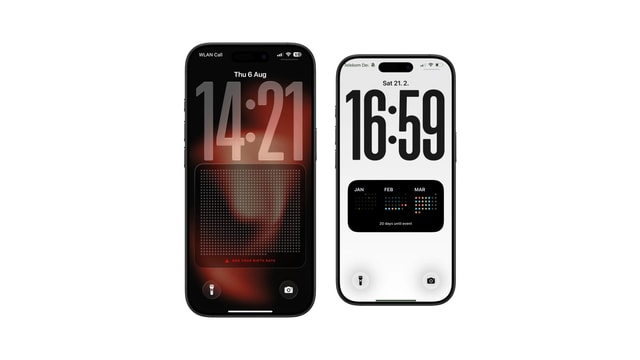
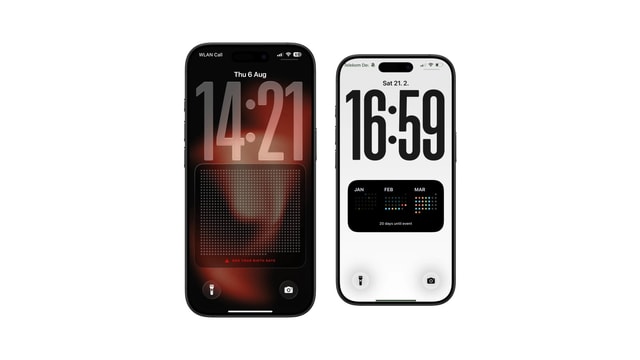
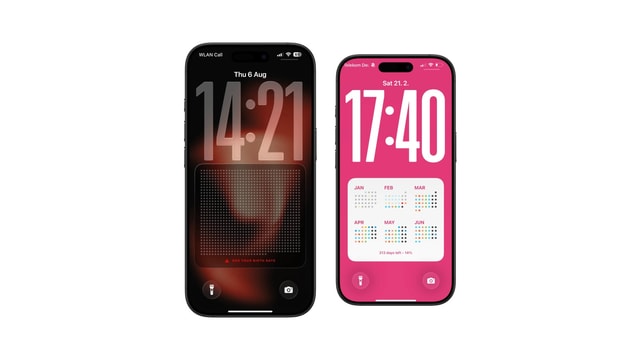
In Calendarly, enter the birth date, choose the horizon and the unit, and pick a life-calendar style. The app works out the current position from real dates and draws the grid into a Lock Screen wallpaper, and the usual Shortcuts automation keeps it current without you opening anything.
The birth date is used on the phone to do the arithmetic, the horizon is a display setting, and neither is stored anywhere that requires an account. Practically speaking the grid moves once a week, so a daily automation is about reliability and picking up design changes rather than because anything visibly moves each morning.
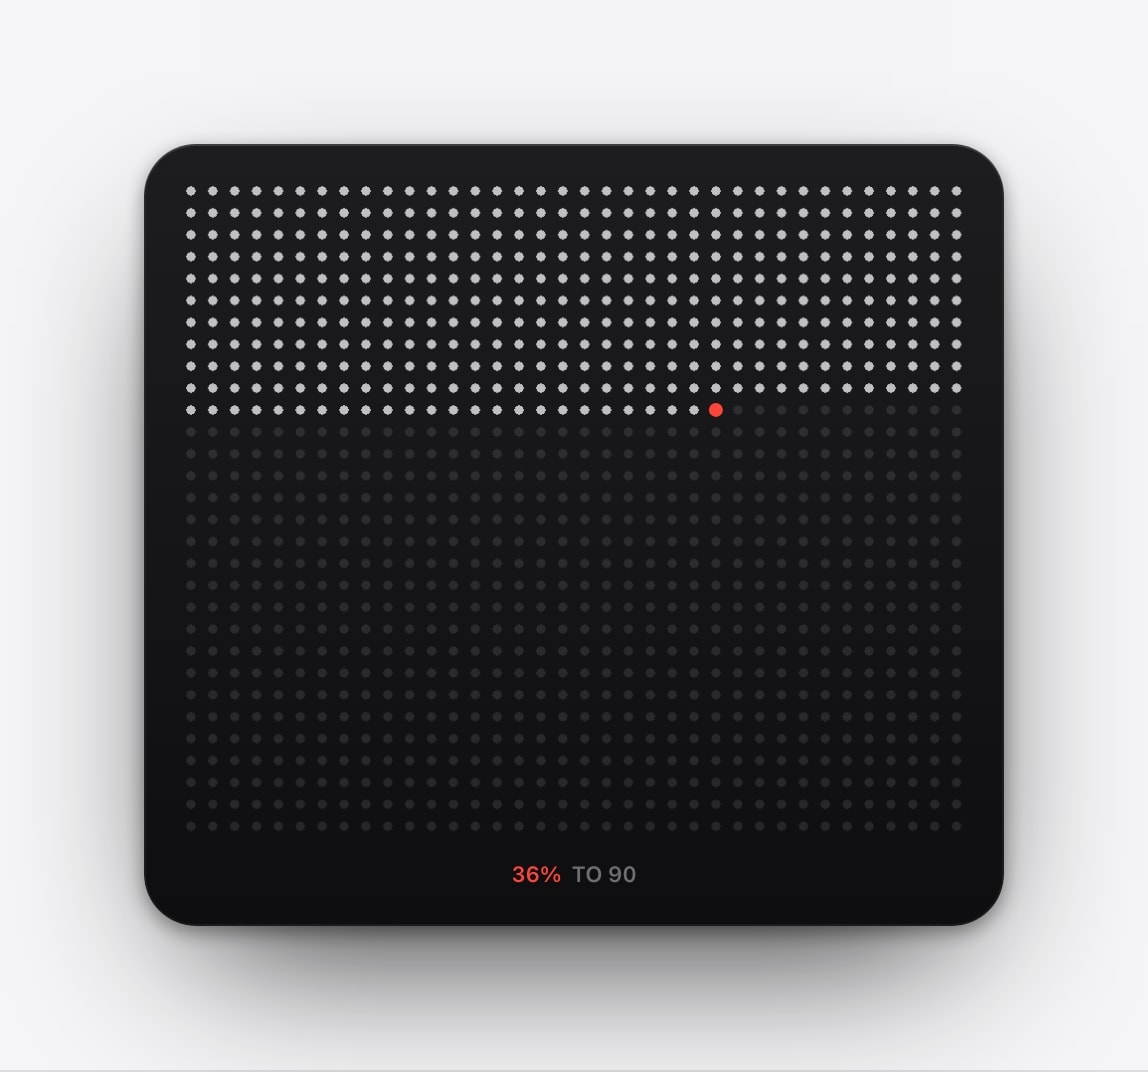
Choosing the version you will actually use
The honest test is what you want to do with it in six months. If the answer is “look at it occasionally and add a note”, paper wins easily and nothing digital comes close. If the answer is “know which week I am in without thinking about it”, the phone wins, and the paper version will end up in a drawer.
Best for memories and occasional reflection. Updating it is manual, which is either the charm or the problem.
Best for a recurring glance. Not designed for writing a history into individual cells.
The whole thing is optional. If it starts turning weeks into scores, swap it for a year view or take it down. Nobody is grading the grid.
Questions people ask
The common design is 52 columns and 80 or 90 rows. Choose a horizon and label it clearly as an illustration.
Yes. Calculate completed weeks as INT((TODAY() minus birth date) / 7) and use conditional formatting to fill that many cells of a 52-column grid.
An app-generated wallpaper, because it recalculates on its own. Paper is better if you want to write on it.
No. It only decides where the drawing ends.
Yes. Both produce a gentler chart with far fewer marks, and both are supported as units.